Designing for Real Life: Creating Homes That Last and Thrive
Designing a home for real life goes far beyond choosing materials that simply “look” durable. True longevity comes from understanding how your household moves, interacts, and uses each space day after day. It’s about knowing where messes tend to appear, how storage is truly utilized, and which finishes will endure the constant wear of real life. The most successful spaces are those that can take a beating, clean up easily, and still look effortlessly composed—even in the midst of chaos.
At Sebring Design Build, we know that beauty and functionality are not mutually exclusive. A well-designed home is one that balances both seamlessly. Whether it’s a kitchen that doubles as a homework hub, a mudroom that keeps clutter contained, or a bathroom built to withstand constant humidity, thoughtful design ensures every high-use space performs beautifully for years.
In this guide, we’ll explore how to select the right materials, layouts, and finishes for your busiest rooms. When design is built for real life, your home not only looks stunning—it works better, feels better, and truly lives better.
1. Begin With Function
Every enduring, high-traffic design begins with a deep understanding of how the space will be used. Before selecting colors, finishes, or fixtures, consider the rhythms of daily life. How many people pass through the room each day? Are children or pets part of the household? Is the space frequently exposed to water, dirt, or heavy use? Does it serve multiple purposes—like cooking, homework, and socializing?
Designing with function first ensures that the space supports your lifestyle rather than working against it. When function drives decisions, everything else—materials, storage, traffic flow—aligns naturally. Durable design isn’t just about choosing tough surfaces; it’s about thoughtful planning that anticipates real-world wear and tear over the long term.
2. The Kitchen: The Heart and Workhorse of Your Home
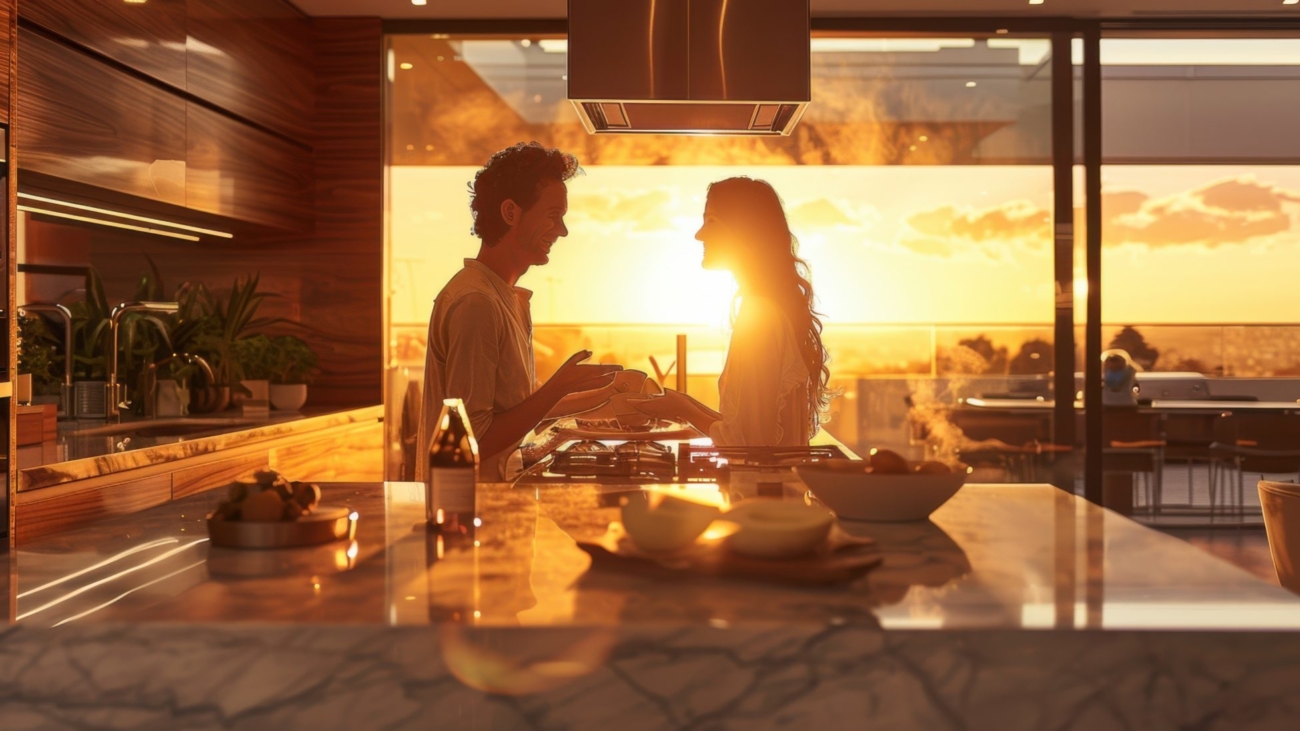
The kitchen is more than a place to cook—it’s the central hub of modern life. Families gather around the island, kids tackle homework at counters, friends congregate during parties, and countless daily activities unfold alongside meal prep. With all this traffic, spills, and scrapes, the kitchen must be both beautiful and resilient.
Countertops need to endure daily life while maintaining elegance. Quartz is an exceptional choice: non-porous, stain-resistant, and nearly maintenance-free, it mimics the beauty of natural stone while offering superior durability. Granite also performs well, offering heat resistance and a timeless aesthetic, though it requires periodic sealing to maintain its pristine appearance. Both materials provide the toughness needed in a hardworking kitchen without compromising style.
Cabinetry is another critical factor. Everyday use—opening drawers, reaching for pots, cleaning spills—can quickly wear down subpar cabinets. Solid wood or high-quality plywood construction ensures long-lasting durability. Soft-close hinges and drawer slides further extend the life of cabinetry, while high-quality paint or laminate finishes resist chips and scratches. Selecting medium or darker tones can also help hide everyday marks, keeping your kitchen looking polished even under heavy use.
Flooring must handle moisture, heat, and constant foot traffic. Luxury vinyl plank (LVP) is a top choice for busy kitchens: waterproof, resilient, and available in beautiful wood or stone-look finishes. Porcelain tile remains a classic, with unmatched scratch resistance and easy maintenance, though it can feel harder underfoot. Engineered hardwood provides the warmth of wood with improved stability in humid conditions, offering a practical balance.
Layout is equally important. Efficient workflows—like a functional work triangle connecting the sink, stove, and refrigerator—minimize wear and reduce clutter. Wide walkways, deep drawers, and strategically placed landing zones streamline daily activities and protect surfaces. When the kitchen flows intuitively, it not only makes life easier—it helps the space remain in excellent condition for years.
3. The Mudroom: The Unsung Hero
Few spaces experience as much wear and tear as the mudroom. Serving as the frontline between the outdoors and the home, it collects rain-soaked coats, muddy boots, gym bags, and backpacks. A well-designed mudroom contains the mess, prevents chaos from spreading, and remains functional through the busiest mornings.
Flooring is paramount. Porcelain tile is ideal for high-traffic, moisture-prone areas: durable, easy to clean, and stain-resistant. Textured ceramic tile offers extra traction when wet, while luxury vinyl tile (LVT) provides warmth and resilience. Natural stone can be striking but demands regular sealing to remain practical.
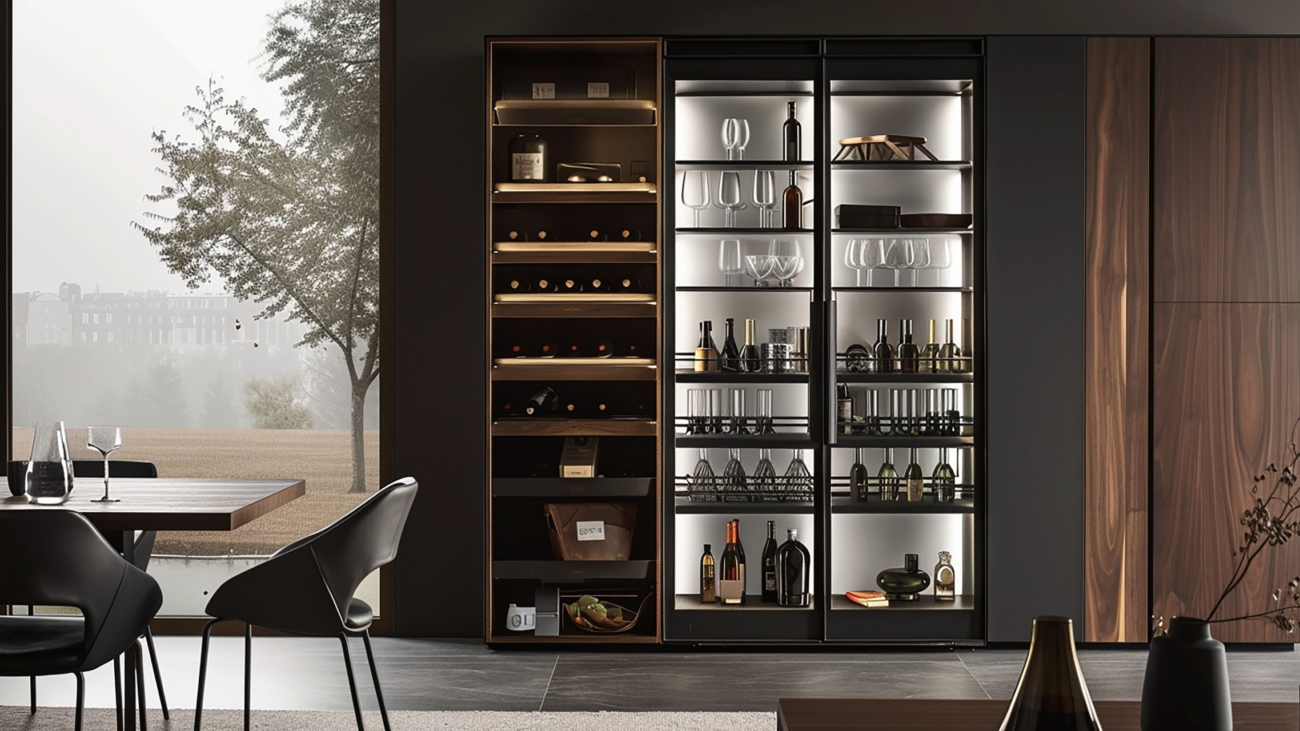
Storage is essential to keeping a mudroom functional. Built-in cubbies or lockers give each family member a dedicated space for shoes, coats, and gear. A sturdy bench with hidden storage adds convenience for dressing and undressing while keeping clutter out of sight. Open hooks and shelving make everyday routines effortless, even during the busiest moments.
Finishes should endure constant use. Satin or semi-gloss paint allows easy cleaning, while durable trim resists scuffs and knocks. Darker flooring or patterned tiles help camouflage dirt between cleanings, and washable rugs or runners protect surfaces while adding warmth and texture.
Lighting and ventilation enhance usability. Bright overhead lights illuminate the space for spotting messes, while natural light or a small window adds freshness. Adequate airflow prevents dampness, ensuring that coats, shoes, and gym gear dry quickly without lingering odors.
4. The Bathroom: Built to Withstand Humidity and Use
Bathrooms endure constant moisture and frequent use. Choosing materials and layouts that resist water damage, mold, and daily wear ensures long-term durability.
Countertops: Quartz shines again for bathrooms. Its non-porous surface makes it resistant to water and stains, perfect for vanities and frequently splashed areas. Solid-surface materials like Corian offer seamless edges and easy repair, providing both practicality and elegance.
Walls and flooring: Porcelain tile reigns supreme, offering waterproof durability and timeless beauty. Ceramic tile works well on walls or in lower-traffic areas, but porcelain’s density provides superior longevity. High-quality grout, preferably epoxy, prevents moisture penetration and inhibits mold growth.
Cabinetry: Plywood outperforms MDF in humid conditions, resisting warping and extending the life of your cabinets. Laminates or veneer finishes add extra protection. Adequate ventilation—via a well-sized exhaust fan—is crucial to prevent mildew, warping, and long-term damage.
Fixtures: Choose materials designed to last. Solid brass or stainless steel resist corrosion far better than zinc alternatives. Spot-resistant and tarnish-proof finishes, like chrome, brushed nickel, matte black, or warm brass, maintain their elegance over time.
Layout: Smart zoning separates wet and dry areas, reducing moisture exposure where it isn’t needed. Curbless showers, wall-mounted vanities, and solid-surface pans improve usability while limiting maintenance. Functional planning ensures the bathroom remains both beautiful and practical for years.
5. Universal Design: Built for Every Stage of Life
True durability isn’t just about materials—it’s about adaptability. Universal design ensures that spaces are accessible, safe, and comfortable for everyone, regardless of age or mobility.
Features such as wider doorways, lever-style handles, slip-resistant flooring, built-in benches, handheld showerheads, and layered lighting improve usability while future-proofing your home. Accessibility need not compromise style; thoughtful design ensures that spaces remain both elegant and functional for decades.
6. Maintenance: The Unsung Key to Longevity
Even the most durable materials require care. Homes that age gracefully do so because their finishes, fixtures, and systems are easy to maintain.
- Matte and satin surfaces hide fingerprints better than glossy ones.
- Large-format tiles reduce grout lines and potential dirt buildup.
- Quality hardware resists loosening, corrosion, and wear.
- Adequate ventilation controls humidity, odors, and heat in bathrooms, kitchens, and mudrooms.
- Washable paint and durable trim allow for effortless cleaning and touch-ups.
A home that’s easy to maintain stays beautiful far longer. Maintenance-friendly materials and systems save time, money, and stress over the long haul.
7. Timeless Style: Enduring Beauty That Works
Trends come and go, but classic design endures. When investing in durable finishes, pair them with timeless aesthetics: neutral palettes, warm woods, subtle tones, and simple lines that won’t feel dated. Clean, understated hardware and proportional elements allow a space to evolve gracefully over time.
Timeless design also simplifies upkeep. Neutral colors hide wear and coordinate easily with future updates, ensuring your home remains inviting and functional for years to come.
Bringing It All Together
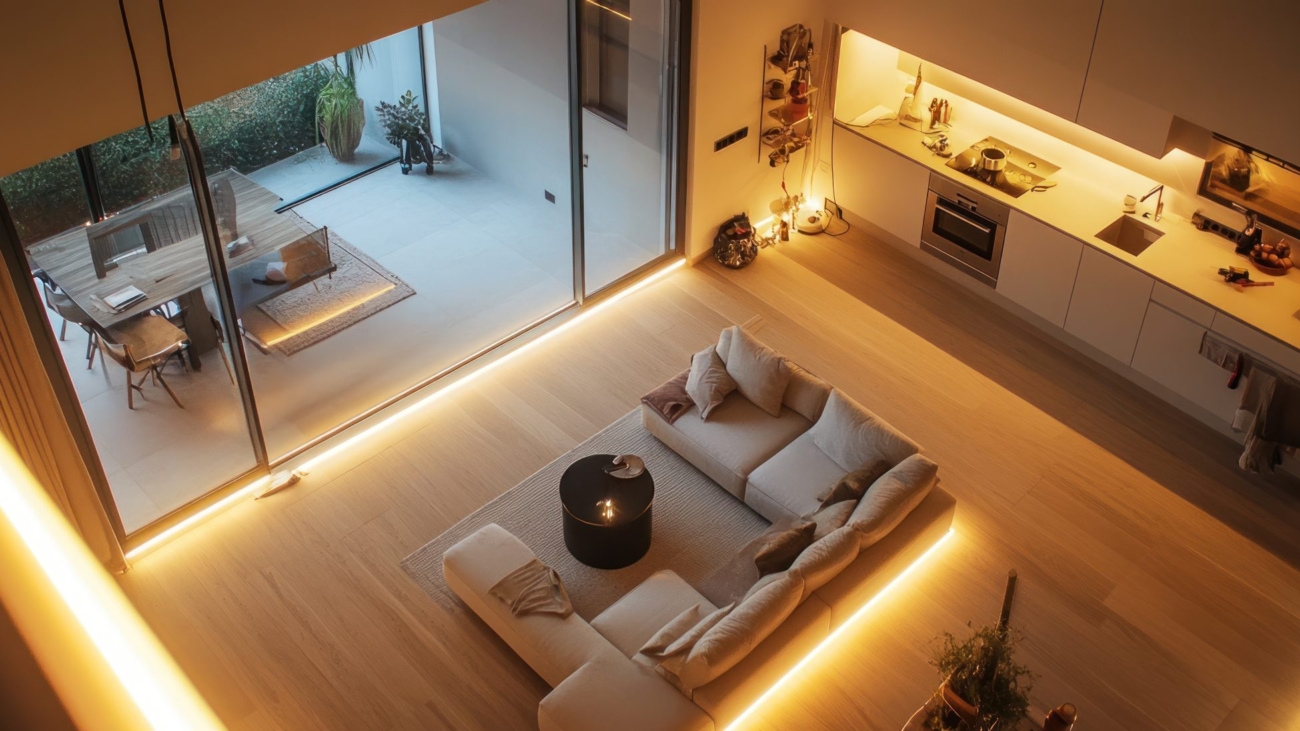
A home built for real life isn’t perfect only on move-in day—it’s resilient, functional, and beautiful for decades. Kids track dirt, pets scratch floors, kitchens are constantly in use, and mudrooms see daily chaos. Designing with real life in mind embraces this reality, creating spaces that don’t just survive wear—they thrive under it.
When design is intentional, every choice—from flooring to countertops to cabinetry—supports your daily life. High-performance, timeless spaces reduce stress, simplify routines, and elevate the way you live.
At Sebring Design Build, we specialize in creating homes that look stunning on day one and endure the tests of everyday life. Kitchens, mudrooms, bathrooms, and high-traffic spaces are designed with longevity, functionality, and beauty in mind. Whether updating one space or remodeling an entire home, our team guides you toward choices that blend style, practicality, and lasting value.
Your home should not only look amazing—it should work brilliantly for every stage of life. Start designing a home that lives as well as it looks. Schedule your design consultation today, and let’s create a space built not just for now, but for every chapter to come.